NOTE: Jcenter has been sunset. It is encouraged to publish to MavenCentral.
You checkout the other guide: Guide to publishing your Android Library via MavenCentral
Developers are a different kind of people altogether. They tend to be lazy but strive to be super efficient at the same time.
A lot of this can be seen in the Android world where a certain library pops up everyday to solve a specific problem or to make the complex processes simpler.
I have a certain knack for re-using code blocks just to avoid repeative tasks and to facilitate this I usually end up converting those codeblocks into an android library.
But what if I wanted to share my android library with the world?
Well in a nutshell the steps to follow would be as below :
-
First of all I need to open source the andorid library, which should be easy as you can push it to Github or any other public git repository.
-
Next I need to push the android library as a maven artifact (aar/jar with a POM) to all of the or one of the below central repositories
We will walkthrough the process of publishing to each if these central repositories in the upcoming posts of this series.
For now lets lookup the steps to publish your android library to JCenter/Bintray.
Creating your Android “Awesome” Library
You can skip to the next part if you already have this built
-
Create an Android project or open an existing one in Android Studio
-
Init the project with git and also create a repo on Github for the same. Each step here onwards represent a commit and should be pushed to github.
-
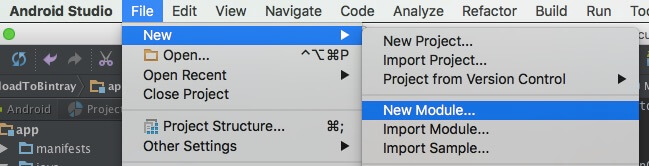
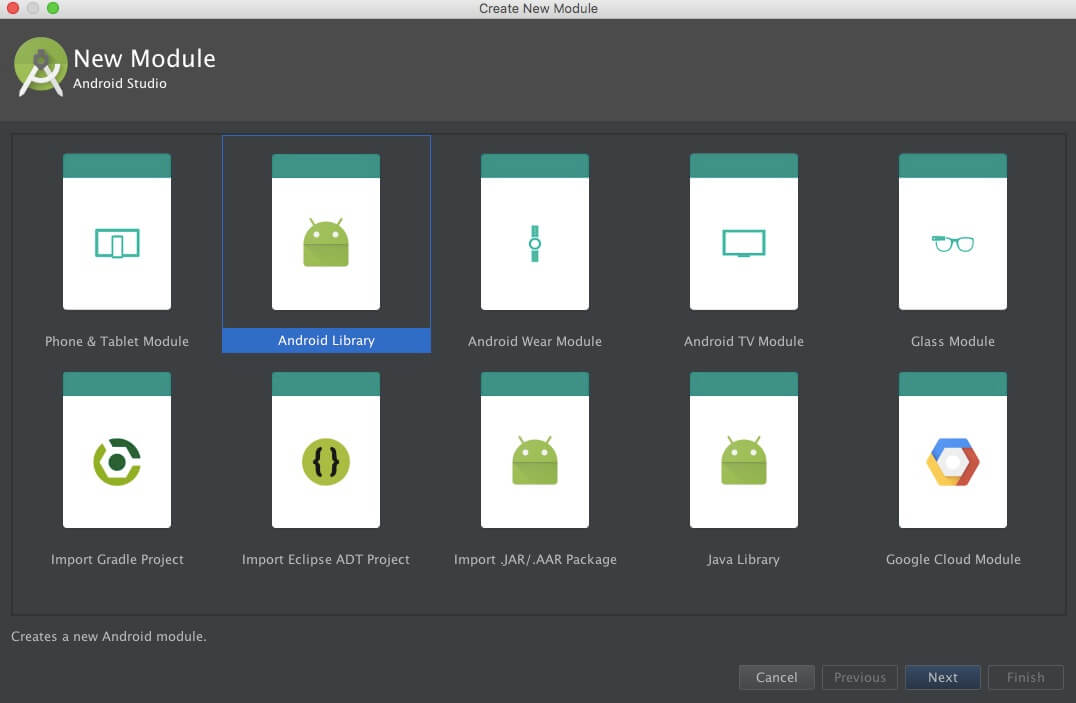
Create and add a new module and choose
Android Library.Goto
File>New>New Module..and selectAndroid Library.

-
Implement your library code inside the library module you created in the last step.
-
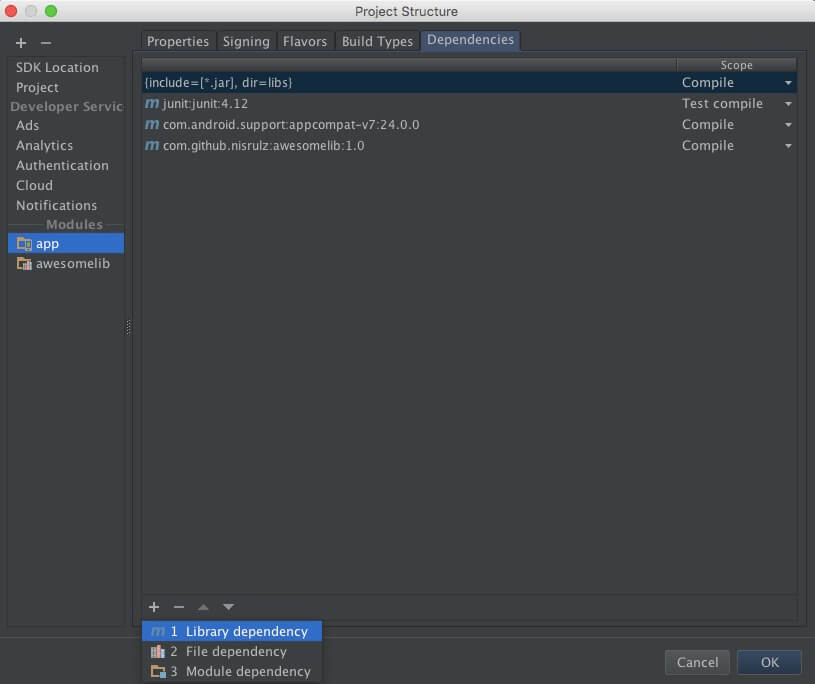
Next add the library module as a dependency to the app module.
- Goto
File>Project Structure.. - Select
appmodule in the sidebar - Select the
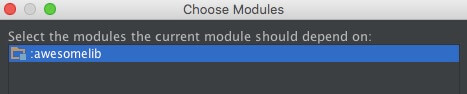
Dependenciestab - At the bottom is a
+icon, click that and selectModule dependencyand select yourlibrarymodule. - Press
applyorok.
- Goto

Publishing your Android “Awesome” Library
- Once project is synced, add the required plugins to classpath in
build.gradlefile at root project level, as shown below
|
|
- Next, apply the
bintrayandinstallplugins at the bottom of build.gradle file at library module level. Also add the ext variable with required information as shown below
|
|
- Edit your
local.properties
bintray.user=<your_bintray_username>
bintray.apikey=<your_bintray_apikey>
NOTE :
bintray.userandbintray.apikeyhave to be inlocal.propertiesspecifically or else you will get error later regarding the user and apikey values not available to the bintrayUpload gradle task as below
No value has been specified for property 'apiKey'.
No value has been specified for property 'user'.
-
Now lets setup Bintray before we can push our artifact to it.
-
Register for an account on bintray.com and click the activation email they send you.
-
Add a new Maven repository and click Create New Package
-
You should now have a maven repository. For instance:
https://bintray.com/nisrulz/maven -
Now once you have your maven repo setup , click on Edit
and see that you have selected the option
GPG sign uploaded files using Bintray's public/private key pair.and then click Update.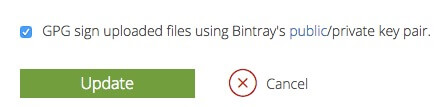
-
-
Once everything is configured, run the below in your terminal in your root of the project
|
|
-
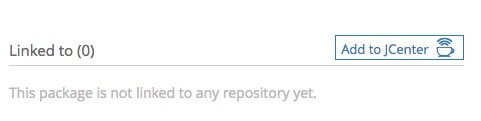
Now once your project is up on bintray, simply hit Add to Jcenter button to sync with JCenter.
Using your Android “Awesome” Library in other projects
- Your code is available through the private repo at bintray
|
|
i.e for the sample lib in this repo , awesomelib
|
|
-
Your code is available through JCenter if you have received the mail with confirmation

Few things to note when you received the final email.
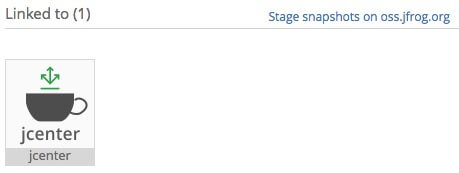
-
Goto your maven repo at bintray and verify that you have Jcenter under the Linked to section
-
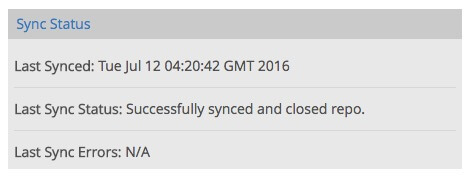
Now you would also want to sync the artifact to MavenCentral, for that you need to hit the Maven Central tab and sync
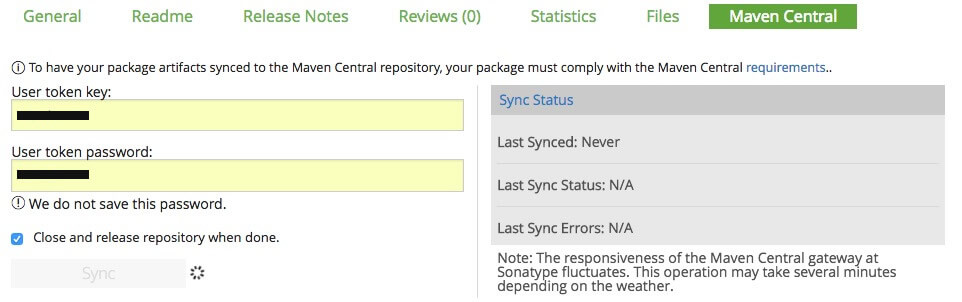
-
Once you hit sync you would see as below. Wait for few hours for the sync to occur.
You can use the lib now as follows
|
|
i.e for the sample lib in this repo , awesomelib
|
|
-
Let the world know of your AwesomeLib
- Add a readme that explains how to integrate and use your Awesome library
- Add a license block as in this repo
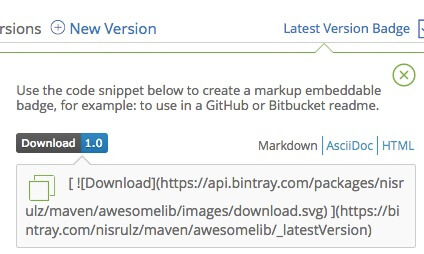
- Also include the Bintray badge provided by Bintray in your readme
- Promote your lib on social media so that others can know about it.
- Always add a working sample app in your project that demonstrates your library in use.
- Add screenshots if possible in your readme.
The code for the AwesomeLibrary and this guide itself is open sourced and available on github
The bintray and install plugins are also available on github. You may fork it and use it in your namespace.
Star it or just fork it to use it.
This post is first in parts of a series
